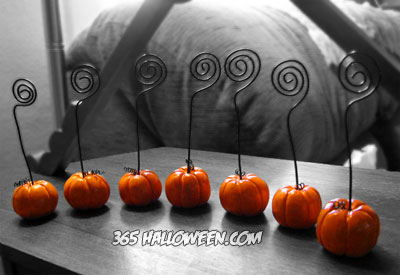
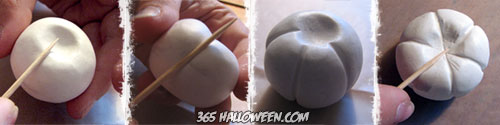
To start, roll your clay into a ball. Then, press down on the top with your finger to give a slight dip, like all pumpkins have at the top where the stem is. Our pumpkins have stems, but instead will have a metal coil to hold a photo. You will next need a toothpick. Start at the very top and press the toothpick down to the bottom, using the sides and not the pointy end. This creates the ridges. Continue this around the pumpkin until you get your desired look.
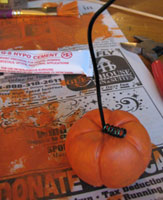
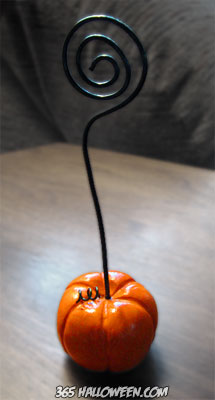
Once you are done painting and your wire is glued in, use a sealer to hold in the paint and make it more durable.
Tutorial and photos submitted by Jill King. Thank you, Jill!
Source here


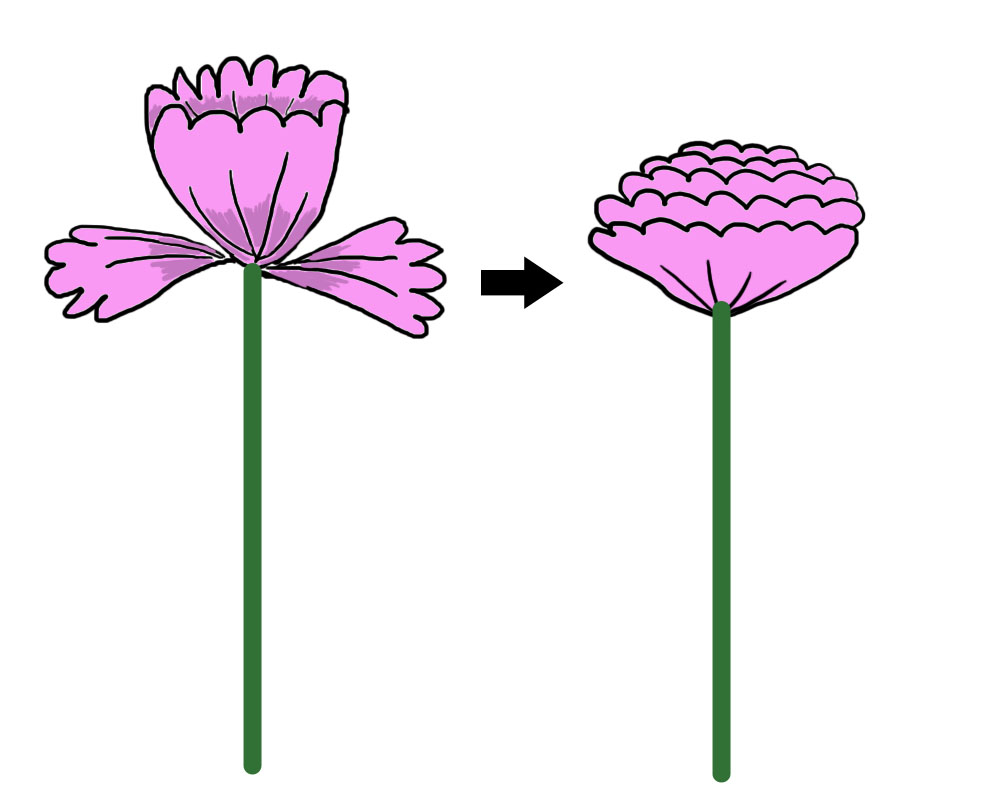
Tissue paper is one of the most popular decorative paper. You can make beautiful flowers with tissue paper in no time. This economical and easy to make flowers can brighten up any room with its variety of designs and the striking range of colours. All you need is a little imagination and skill. So try out the flowers given here...
Materials: The basic materials needed are tissue paper in vivid colours, wire for flower stems and to secure petals, crepe paper to wrap the flower base, stem and to make leaves, Glue and scissors.